

To fix a sagging or collapsed classic car seat, the upholstery must be removed so the frame, springs, support straps, padding, and foam can be inspected.
Broken or weakened support components should be repaired first, the cushion must then be rebuilt to its correct height and shape, and the seat cover should be installed only after the underlying structure is stable.
New covers alone will not fix a seat that sits too low, leans to one side, feels unstable, or has lost its original contour.
Why Do Classic Car Seats Sag?
Classic car seats usually sag because one or more internal support components have weakened with age, use, moisture, or previous repairs.
Common causes include:
- Compressed or deteriorated foam
- Broken, stretched, or disconnected springs
- Failed rubber diaphragms or elastic support straps
- Torn burlap or support fabric
- Missing spring clips or listing wires
- Bent or cracked seat frames
- Loose tracks, pivots, or mounting points
- Incorrect padding added during an earlier repair
- Rust, water damage, or contamination beneath the upholstery
The driver’s seat commonly deteriorates first because it receives the most use. The outer cushion edge may also collapse from repeated entry and exit.
A seat can have several problems at once. Compressed foam may hide weakened springs, while a loose track or cracked frame may make the seat feel uneven even after the cushion is replaced.
What Does the Type of Sagging Indicate?
The way a seat looks and feels can help identify which component may have failed.
| Symptom | Likely cause | Correct repair direction |
|---|---|---|
| Driver sits too low | Compressed foam, weak springs, or failed support straps | Restore the support system and cushion height |
| Seat leans to one side | Broken spring, bent frame, or uneven padding | Repair the structure and rebuild both sides evenly |
| Metal can be felt through the cushion | Failed foam or torn support barrier | Replace the damaged cushion and protective layer |
| Seat feels excessively soft or bouncy | Disconnected springs, broken clips, or stretched straps | Repair or replace the failed support components |
| Outer edge is flattened | Entry wear and collapsed bolster foam | Rebuild the bolster to its original profile |
| Upholstery looks loose or wrinkled | Padding has collapsed beneath the cover | Restore the cushion shape before refitting the upholstery |
| Seat rocks or shifts | Worn track, loose mounting point, or cracked frame | Repair the mounting and track system |
| Seat back will not stay aligned | Damaged recliner, pivot, latch, or frame | Repair the mechanism before upholstery work |
These symptoms provide useful clues, but the complete condition cannot always be confirmed without removing the seat and inspecting it from underneath.
Will New Seat Covers Fix a Sagging Classic Car Seat?
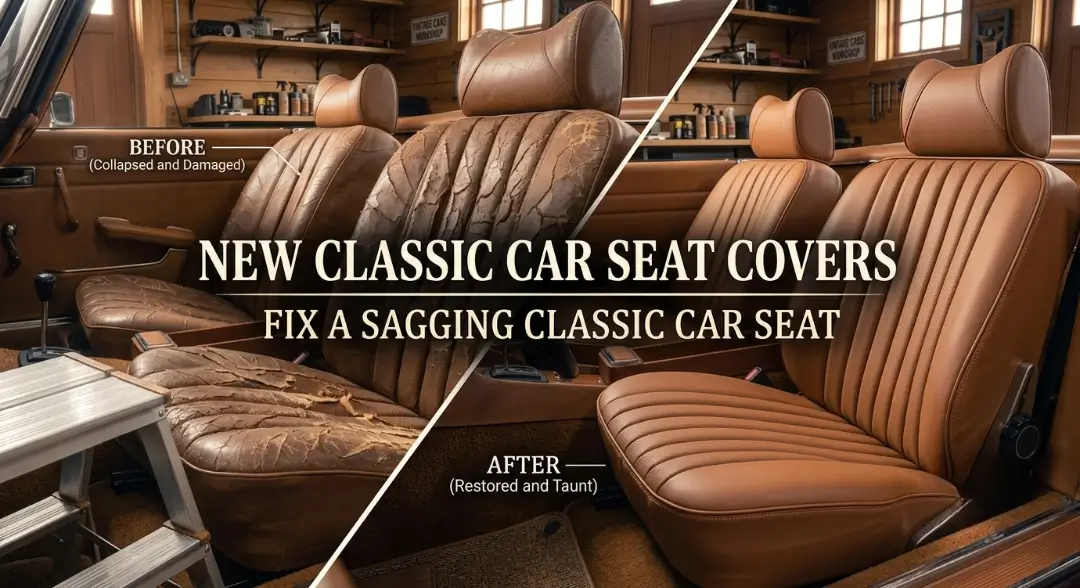
No. New seat covers improve the visible surface but do not replace missing support beneath the upholstery.
A seat cover is designed to fit a specific cushion shape. If the foam, springs, or frame have collapsed, a new cover may still develop:
- Loose material
- Uneven pleats
- Misaligned piping
- Flattened bolsters
- Excessive seam tension
- An incorrect seating height
- Premature wear
The seat may appear cleaner after reupholstery, but the occupant may still sit too low, lean toward one side, or feel the support structure through the cushion.
The seat must regain its correct shape before the final upholstery is installed.
Which Seat Components Need to Be Inspected?
A proper diagnosis should evaluate four separate areas: the structure, support system, cushion materials, and upholstery.
Seat frame, tracks, and mechanisms
The frame establishes the basic shape of the seat and connects it to the vehicle.
It should be checked for:
- Cracks
- Broken welds
- Bent sections
- Rust
- Enlarged mounting holes
- Loose pivots
- Worn tracks
- Damaged recliner or latch components
- Missing fasteners
- Improvised previous repairs
Foam cannot correct a bent frame, loose track, or damaged mounting point. Structural repairs should be completed before the seat is padded or covered.
Springs, straps, and support grid
Classic seats may use coil springs, zigzag springs, wire grids, rubber diaphragms, elastic straps, or combinations of these systems.
These components distribute the occupant’s weight across the cushion. When part of the system fails, the seat may sink, lean, or feel unusually soft.
Repairs may involve:
- Reconnecting displaced springs
- Replacing broken clips
- Replacing fatigued or rusted springs
- Restoring rubber support diaphragms
- Replacing stretched straps
- Repairing damaged wire grids
- Correcting altered attachment points
Replacement parts should reproduce the original seating height and firmness as closely as practical. Components that are too stiff can raise the seat, alter comfort, and distort the upholstery.
Foam and traditional padding
Foam creates the cushion profile and prevents the occupant from feeling the support system beneath it.
Foam generally requires replacement when it is:
- Crumbling
- Permanently compressed
- Hardened
- Split
- Powdery
- Contaminated
- Missing sections
- Incorrectly shaped
Minor localized damage may be rebuilt with compatible upholstery foam. A severely collapsed cushion is usually better replaced with model-specific molded foam when available.
Some older seats use cotton, jute, fiber pads, or layered traditional padding instead of one molded foam cushion.
These materials should be reconstructed according to the original seat design rather than automatically replaced with an oversized block of modern foam.
When only one side requires localized rebuilding, its height, firmness, and contour should still be compared with the opposite side so the finished seat remains balanced.
Support barriers and attachment components
Several hidden layers help the seat retain its shape and protect the upholstery:
- Burlap or support fabric creates a stable platform above the springs.
- Felt protects the cushion from metal edges and high-contact areas.
- Listing wires pull seams and inserts into the correct position.
- Padding layers refine the contour and prevent the structure from showing through the cover.
Missing or damaged support layers can cause visible spring lines, uneven inserts, premature foam failure, and loose upholstery.
Can Broken Seat Springs Be Repaired?
Some broken springs can be repaired, but badly fatigued, rusted, or repeatedly damaged springs may need replacement.
The correct decision depends on:
- The spring type
- The location of the break
- The condition of nearby springs
- The availability of correct replacement parts
- The condition of the seat frame
- The required seating height and firmness
- The restoration standard
Temporary repairs using zip ties, household wire, or unrelated hardware do not restore the spring’s intended tension or durability.
When exact replacements are unavailable, an upholstery or restoration specialist may be able to repair or fabricate a suitable component while preserving the seat’s original geometry.
Can Extra Foam Fix a Low or Soft Seat?
Extra foam can correct a minor contour or comfort issue, but it should not be used to conceal broken springs, failed straps, or frame damage.
Adding too much foam can:
- Raise the seating position
- Reduce headroom
- Affect steering-wheel clearance
- Overstretch the seat cover
- Flatten the original contour
- Distort pleats and piping
- Make the seat unnaturally firm
The foam density, thickness, and placement should match the seat design and the area being repaired.
The goal is to restore the original profile and support—not simply add material until the seat feels firm.
Can Original Classic Car Seat Covers Be Reused?
Original covers may be reusable when they remain flexible, structurally sound, and appropriate for the vehicle’s restoration goals.
When preserved or restored, owners should also take steps to protect classic car upholstery from sun damage so the material does not fade, dry out, or become brittle prematurely.
Reusing them may make sense when:
- The vehicle has a valuable original interior
- The cover is intact but the foam has collapsed
- Damage is limited to one seam, panel, or section of piping
- The owner is preserving a survivor vehicle
- A complete interior restoration will occur later
Replacement is usually more appropriate when the material is brittle, badly split, shrunken, contaminated, incorrectly modified, or unable to withstand removal and reinstallation.
Even upholstery that appears usable can tear when stretched. Before disassembly, the original cover should be documented for:
- Seam locations
- Pleat spacing
- Piping
- Insert shapes
- Listing positions
- Fastener locations
- Material transitions
These details may be needed to reproduce the original construction accurately.
When Is a Sagging Seat a Safety Concern?
Collapsed foam is often a comfort and appearance problem. A damaged frame, loose track, failed latch, or weakened mounting point can become a safety concern.
The seat should be inspected promptly when it:
- Rocks during normal use
- Moves independently of the track
- Will not lock in position
- Leans because of structural damage
- Has loose or missing floor fasteners
- Has a seat back that will not latch
- Contains sharp or exposed metal
- Interferes with access to the pedals or steering wheel
A seat that is not securely attached to the vehicle should not be treated as a cosmetic upholstery issue.
Structural, track, latch, and mounting repairs should be completed before the seat is returned to regular use.
Should the Seat Be Repaired or Completely Rebuilt?
A localized repair may be sufficient when the frame is sound and the damage is limited to one spring, a small foam area, or an individual upholstery panel.
A more complete rebuild is generally appropriate when:
- Several support components are broken
- The cushion has permanently collapsed
- The seat leans or rocks
- The frame is cracked or bent
- Previous repairs changed the original shape
- New upholstery is being installed
- The vehicle is being restored for judging or resale
- The correct seating height and contour must be reproduced
Repairing the structure, padding, and upholstery together can prevent the new cover from being removed again when a hidden support problem becomes more noticeable.
The number of damaged components, material choice, and required fabrication can also affect how much classic car upholstery restoration costs.
Is Classic Car Seat Restoration a DIY Project?
A basic cover or model-specific foam replacement may be manageable for an experienced owner with the correct tools and instructions.
Professional restoration is recommended when:
- Springs are broken or missing
- The frame needs welding or straightening
- Seat tracks or recliner mechanisms are damaged
- Original upholstery must be preserved
- Correct replacement foam is unavailable
- Traditional padding must be reconstructed
- Factory pleat and piping alignment is important
- The vehicle is being prepared for judging or resale
The main advantage of professional restoration is that the seat can be evaluated as a complete system rather than treating the cover, foam, springs, and frame as unrelated parts.
Owners planning this work should also understand how long classic car upholstery restoration takes, especially when structural repairs, custom foam, or material sourcing are required.
How Is a Properly Restored Classic Car Seat Evaluated?
A completed seat should be inspected for more than a smooth cover.
The finished seat should have:
- Even support from side to side
- The correct seating height
- A stable frame and track
- Properly aligned pleats and piping
- Symmetrical bolsters
- Secure upholstery attachments
- Smooth track and recliner operation
- Adequate steering-wheel and headroom clearance
- A profile that matches the vehicle’s original interior
The seat should support the occupant without feeling overfilled, excessively soft, or uneven.
Classic Car Seat Restoration in Huntington Beach
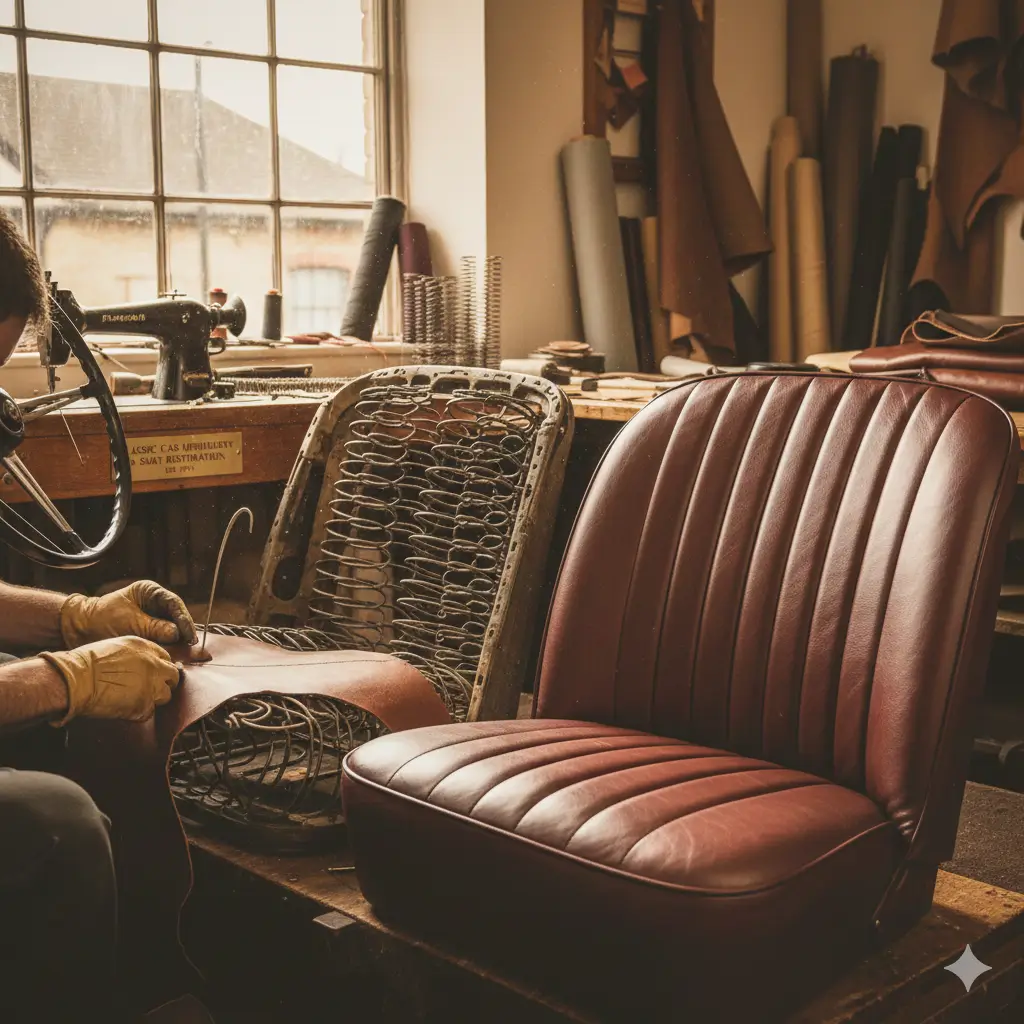
Coastline Classic Car Restorations in Huntington Beach repairs the complete seat assembly for classic, vintage, collector, and restored vehicles—not only the visible upholstery.
Our seat restoration process may include:
- Documenting the original seat construction
- Inspecting frames, tracks, pivots, and mounting points
- Repairing damaged springs and support systems
- Restoring burlap, felt, listing wires, and traditional padding
- Repairing or replacing seat foam
- Reproducing the original seat height and profile
- Preserving usable original upholstery when appropriate
- Installing period-correct leather, vinyl, or cloth
- Coordinating the seats with door panels, carpet, and headliners
For more information about roof-liner construction and restoration, read Bow-Style vs. Board-Style Headliners.
A properly restored seat should look correct, support the occupant evenly, operate securely, and fit the surrounding interior as intended.
Learn more about our Classic Car Upholstery Restoration in Huntington Beach services for seats, door panels, carpet, headliners, insulation, and complete soft-interior restoration.
For guidance on selecting the correct cover material, read How to Choose Period-Correct Classic Car Upholstery: Leather vs. Vinyl vs. Cloth.